

Phone
01204 89 6440General Enquiries
hello@statuo.co.ukClient Enquiries
accounts@statuo.co.ukHello I’m Adam // General Manager
Drive quality traffic to your site
Talk to me todayHello I’m Faye // Marketing Director
Drive quality traffic to your site
Talk to me todayKatie White
Aug 8, 2022
We regularly talk about the value of social media for businesses looking to build brand awareness and engage with existing and potential customers, however, we understand that setting up your social profiles can be daunting if you don’t have much experience with social media.
That’s why in this handy guide, we’re going to be explaining how to set up your business’ social profiles and break it down into simple steps.
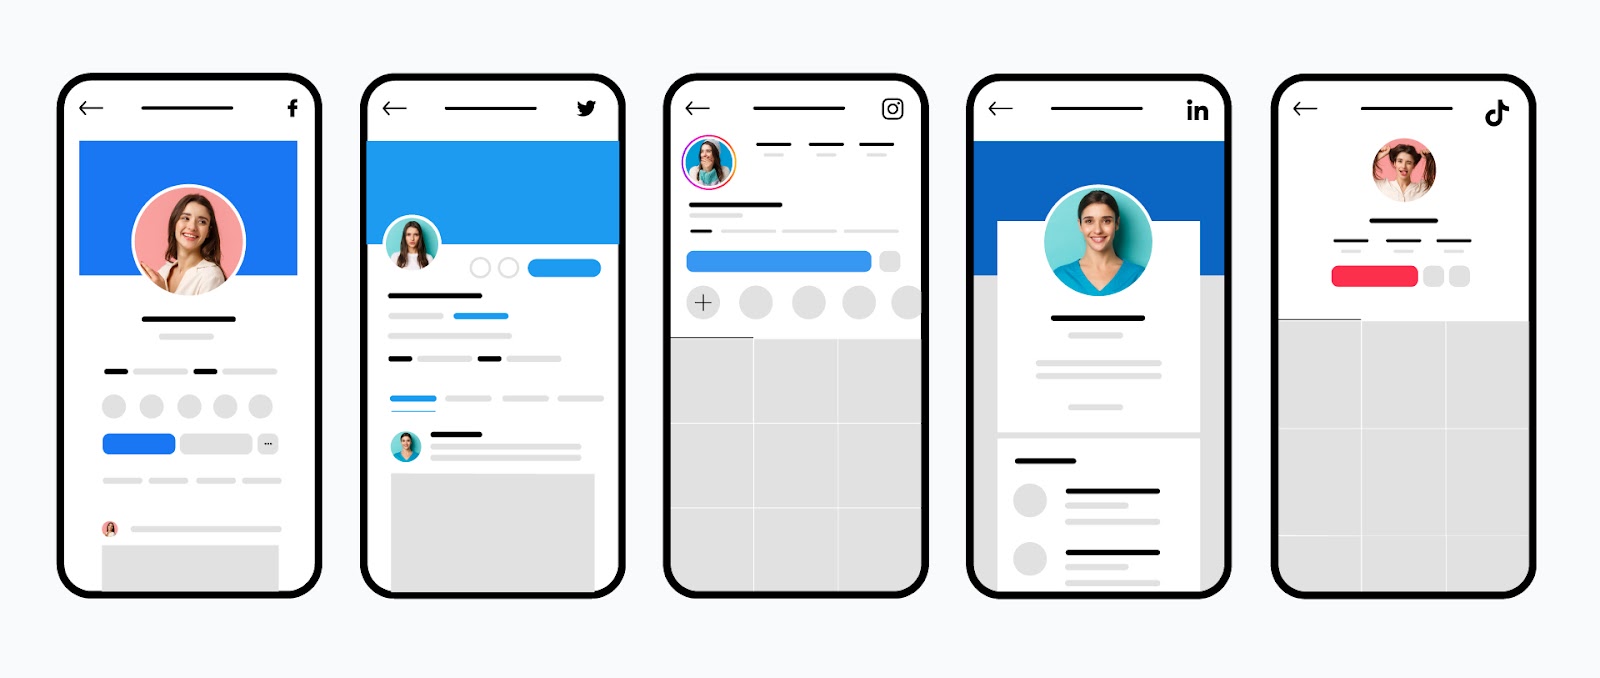
A key part of planning your social media marketing strategy is deciding which platforms are right for your business.
Each platform has different users and offers different benefits, meaning some might suit your business better than others.
For example, LinkedIn is great for B2B businesses or industries that work with professionals and isn’t designed for eCommerce. Facebook on the other hand has a much wider audience reach and is great for advertising products/services to users.
Additionally, some platforms require a lot more time and work than others, so if you have very little time or lack the necessary resources, you may wish to consider the quicker options
For example, Twitter is great for starting conversations with your customers and only requires text (though you can also add images to your tweets), so you can have a quick and easy exchange with someone with very little effort. Instagram on the other hand always requires either an image or video with accompanying text.
Let’s take a look at some of the pros and cons of each platform in greater detail.

Facebook is a fantastic platform for targeting your audience with ads, building an email list, acquiring new customers and interacting with your clients.
Thanks to the versatility of Facebook, you have the option to post standalone text, images and videos or a combination of the three in a single post.
You can also post a wide range of content, such as:
- Product and service posts
- Special offers
- Behind the scenes of your business
- Lighthearted posts (e.g. memes and quotes)
- Business updates
- Testimonials
- Links to external content such as your latest website blog post

Instagram is a very visual platform, allowing you to display your products, values and voice through images and videos.
If your audience is younger and shopping from mobile, Instagram is a good option for your business, especially as it has a ‘Checkout’ feature, meaning it is fully set up for eCommerce.
This allows your followers to look at your product images and buy directly from their Instagram account.
Like we mentioned earlier, Twitter is fantastic for starting conversations with your customers and can require very little time and effort.
However, Twitter is also the first place many people go to leave public complaints on brand pages, so if you don’t have someone with plenty of time for resolving issues online, Twitter may not be the best option for your business.

TikTok is a relatively new social media platform, but don’t make the mistake of thinking it isn’t an important one.
In just four years, the video-based app has amassed over 3 billion downloads and penetrated a third of all social media users across the globe– a milestone that Facebook and Instagram took almost a decade to achieve.
The success of TikTok largely comes down to how easy it is to create content and get seen by relevant audiences. Unlike Instagram and Facebook, you don’t already need a huge following to go viral.
This also means there is the potential to get the same (if not greater) reach from organic content as you can with paid ads, all without spending a penny!
Many savvy businesses have now jumped on board and are using TikTok as a new platform for social media marketing, making use of both organic and paid features.
An important thing to note is that TikTok audiences like to see authentic content, so the less polished, the better. You don’t need to spend hours professionally filming and editing your clips.
All you need to create great content is a smartphone and the TikTok app. You can film, edit and upload all within the app itself, making it incredibly quick and easy, so it’s ideal for businesses that don’t have lots of time or money for highly produced content.

As we mentioned earlier, LinkedIn is mostly used as a professional platform and can be a great place to share industry news or work-related content aimed at business owners or working professionals.
LinkedIn allows you to post text, photo and video content to your page, however, unlike apps such as Instagram and Twitter, you can also post long form articles of up to 110,000 characters (roughly 15,714 - 27,500 words).
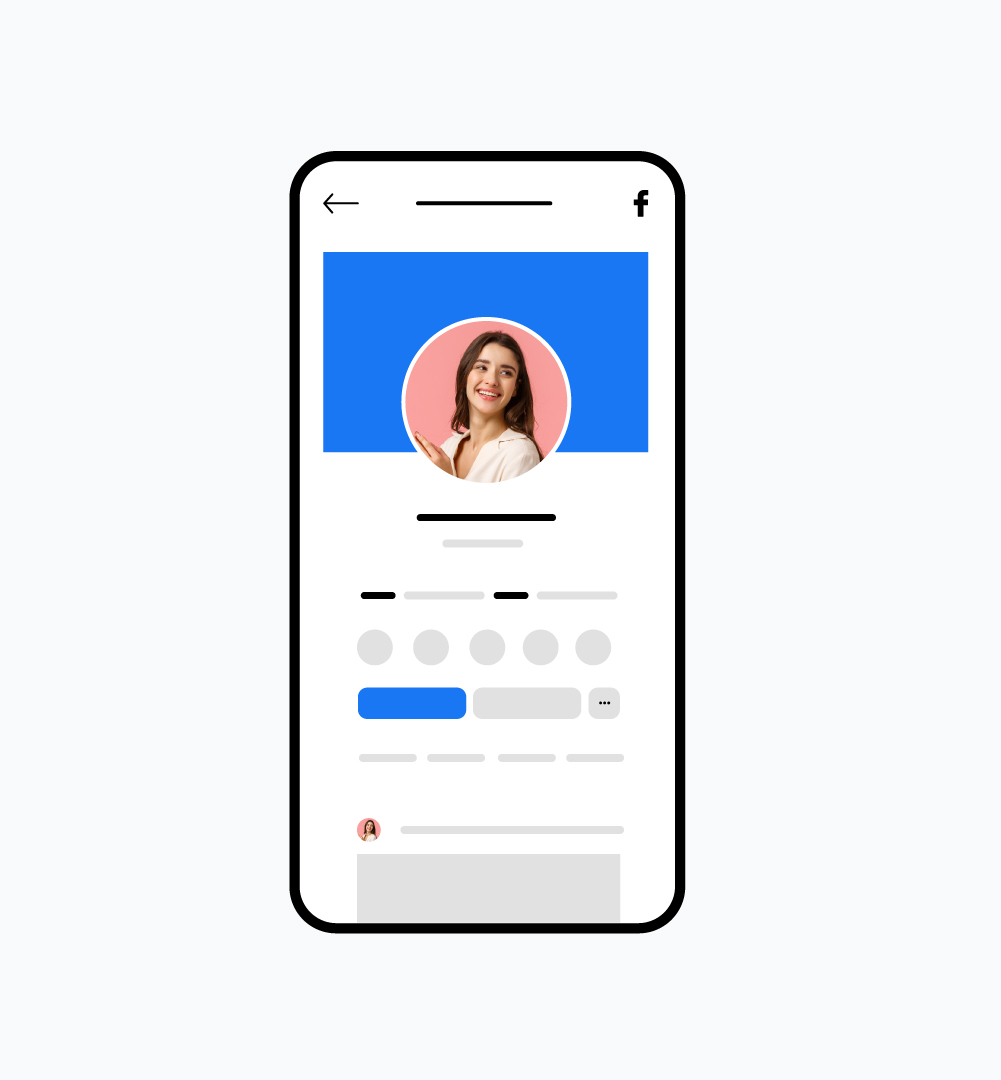
If you haven’t already got a personal Facebook profile, you’ll need to set one up before you can create a business page. (Don’t worry, the information from your personal account won’t be publicly visible on your business page)
Simply head over to the Facebook mobile app or Facebook’s Sign Up Page on desktop and enter your details to create a personal account.
If you already have a personal account–great! Just make sure you’re logged in.
Once your personal account is set up and you’re logged in, go to facebook.com/pages/create.
Enter your business’ information in the panel on the left. You’ll then see the page preview updating to match your details on the right side.
When entering your page name, make sure to use your business’ name as it appears on your products, website etc.
You’ll then be asked to choose up to three categories to describe your business. It’s important to choose categories as relevant to your business as possible as this will make your brand more discoverable.
When it comes to filling in the description, give a few brief details about what your business does– sort of like an ‘About Us’. This is also a good place to include your location and any USPs, such as next day delivery (maximum 255 characters).
Once you have created your page, it's time to really bring it to life with some photos.
Upload a profile picture and cover photo for your business page.
Remember, this will be the first impression users get of your brand when they see your page, so make sure to choose your images wisely.
Setting Your Profile Picture
If you have a logo, it is good to set it as the profile picture for your page. This helps customers identify you more easily when searching for your page.
Your profile image should be 170x170 pixels and will be cropped into a circle, so make sure there aren’t any crucial details in the corners as these won’t be visible.
Once you have chosen your photo, simply tap on the circle profile image and select ‘Choose new profile picture’ from the pop-up menu at the bottom of your screen.
Setting Your Cover Photo
Now it’s time to choose your cover photo. This is the banner image that appears across the top of your page. This image should display your products, show your service or convey your brand values.
Take a look at the cover photos of the brands below.
Nike
Nike keeps things simple with its iconic slogan in bold black and white. This simplicity works really well for the brand, especially next to its profile picture which is the classic Nike ‘swoosh’ logo.

ASOS
ASOS uses a combination of images as their cover photo to showcase a range of their products being worn by ex-Love Island star and social media influencer, Millie Court, who will be recognised by many of ASOS’ target audience.

HelloFresh
HelloFresh is a subscription-based food delivery service that sends ingredients and recipes to customers so they can make their own home cooked meals with fresh ingredients.
Their cover photo perfectly encapsulates their service, showing their website on the mobile phone where you choose the recipes, the box of brightly coloured fresh ingredients and the prepared meal.

All three of these brands have chosen very different cover photo styles, yet each one is perfectly suited to their brand and audience.
Facebook Cover Photo Dimensions
When selecting your image, it’s important to choose one that fits the Facebook header dimensions, otherwise facebook will either crop or stretch it, making it look unsightly and unprofessional.
On desktop, the cover photo displays at 820 pixels wide by 312 pixels tall and on mobile it displays at 640 pixels wide by 360 pixels tall.
To ensure your image works in both formats, it is recommended to use an image that is 820 pixels wide by 462 pixels tall and avoid putting any important text or images too close to the edges.
To set your header photo, go to your page and tap the ‘Edit Page’ button (it looks like a pencil). Then, select ‘Page Header’ and change the image using the small pencil icon button in the corner.

Head over to Instagram and select ‘Sign Up’ at the bottom of the login panel.
Then enter either your mobile number or email address and your full name in the top two boxes.
We would recommend using your business email address so that anyone in your business can help manage your social account without having to access your personal email.
When it comes to deciding on a username, it is important to set it as close to your business name as possible as this will help your customers to find you more easily.
For example, let’s pretend your business sells personalised sweatshirts and is called Sweatshirtify.
‘Sweatshirtify’ should be your first choice of username for your Instagram business account.
However, if you find that your business name has already been taken, add something simple onto the end such as @sweatshirtify_uk or @sweatshirtify_official.
Make sure to avoid anything too obscure or with too many numbers, such as @sw34tsh1rt1fy or @sweatshirtify_4920739 as this makes you much more difficult to find and can look like a fake account.
Set a password and hit the blue ‘Next’ button.
Instagram will then ask for your date of birth. Make sure you enter the date of birth of yourself or a member of staff that is over the age of 18 to allow you to maximise as many features as possible such as advertising.
Don’t make the mistake of entering the date you set up your business– Instagram has a minimum age of 13 for its users and you will get locked out of your account if it thinks you are younger.
Once you have entered your date of birth you will be asked for a confirmation code either sent to your email address or phone number depending on which you used to sign up.
Now you have your account set up, it’s time to optimise it for business.
Go to your profile and click on ‘Edit Profile’
Then click ‘Switch to Professional Account’ at the bottom of the panel on the left.
You’ll then see a screen which asks whether you’re a Creator or a Business. Choose Business.
Then you’ll be asked to choose a category to describe your business. It’s important to choose a category as relevant to your business as possible as this will make your brand more discoverable.
Use the search bar to find the most suitable category for you. Then tick the box which says ‘Show category on profile’ as this helps visitors to better understand what you do.
If you want your Instagram visitors to be able to email, phone or visit your premises, you can enter your contact details and show them on your profile, or you can opt out by selecting ‘Don’t Use My Contact Info’ in the bottom left corner.
Once you have done this, your business account is ready and you will be taken back to the profile editing page.
Next to Name, enter your business name as it appears on your products, website etc.
Then enter your website address so customers can access your site from your Instagram page. Alternatively, you can link to your Linktree page, allowing visitors to find your website, other social accounts, certain products and any other important links.

When it comes to filling out your ‘Bio’, give a few brief details about what your business does– like a short ‘About Us’. This is also a good place to include your location and any USPs, such as next day delivery (maximum 255 characters).
Once all your details have been entered, you can choose a profile picture for your account.
If you have a logo, it is a good idea to set it as the profile picture for your page so customers identify you more easily when searching for your page.
Your profile image should be 170x170 pixels and will be cropped into a circle, so make sure there aren’t any crucial details in the corners as these won’t be visible.
Once you have chosen your photo, simply tap on ‘Change profile photo’ beneath your page name.

Head over to Twitter or open the Twitter app on mobile.
Select ‘Sign Up’
Then fill in your details, including your business name, email or phone number and date of birth. Make sure you enter the date of birth of yourself or a member of staff that is over the age of 18 to allow you to maximise as many features as possible such as advertising.
You will then need to confirm your email address or phone number with a code.
Once you have verified your contact details, you can then enter a bio. These should be a few brief details about what your business does.
Then you’ll be asked to choose a profile picture. Here it can be a good idea to use your company logo so users can find you more easily.
Before proceeding, Twitter will ask you to follow a number of accounts based on topics to help produce a more personalised feed. Here you can choose topics related to your business e.g. Food, Clothing, Celebrities, Beauty, Make Up, Funny Memes etc.
Once your profile and feed have been created, you can optimise your account further by choosing a cover photo, location and entering a link to your website.
To convert your profile into a business account, select ‘Switch to professional’.
You’ll then be asked to choose a category to describe your business. It’s important to choose a category as relevant to your business as possible as this will make your brand more discoverable.
From here, you can choose between a Creator Account or Business Account, so pick whichever describes your business best.

When it comes to setting up a TikTok account for your business, there are two routes you can take.
Although it makes sense for a business to run a business account, many brands choose to set up their pages as personal accounts due to the limitations TikTok imposes on business accounts.
For example, business accounts only allow you to use sounds you create yourself or commercial sounds for your videos, which is a very limited library and makes it difficult to go viral as easily as these typically do not trend in the same way unlicensed songs and user generated sounds do.
However, a business account gives you access to more analytics tools, email functions and the ability to promote your site, so if this is something you’re after, a business page may be better suited for you.
To create a personal TikTok account, either open the TikTok app on your phone or head over to TikTok’s website.
From here, click ‘Sign Up’ and select ‘Use phone or email’ to get started.
TikTok will then ask for your date of birth and email/phone number. Make sure to enter the date of birth of yourself or a member of staff that is over the age of 18 to ensure you have full access to all features.
Once you have entered your email or phone number, you’ll be sent a confirmation code which you need to enter before you can continue.
Like any other social media platform, it’s always a good idea to set your TikTok username as your business name.
Head over to your page and select ‘Edit Profile’.
From here you can add a profile picture and a bio.
To set your profile photo, click on the pencil button next to the profile icon. Your profile image should be 170x170 pixels and will be cropped into a circle, so make sure there aren’t any crucial details in the corners as these won’t be visible.
Your TikTok Bio should be a brief summary of your business and any key USPs you want to get across to your audience. You can also add a link to your website or Linktree here.
In order to have a business account, you must first have a personal account.
Once you have followed the steps above, head over to your account settings page and select ‘Manage Account’.
Here you should find a setting titled ‘Switch to Business Account’.
Once you have selected this, TikTok will ask you to choose a category that best describes your business.
Make sure to choose one as relevant as possible as this will make you more easily discoverable and will target your content to more relevant audiences.

In order to set up a Company Page, you first need a personal LinkedIn account.
To do this, either open the LinkedIn app on your phone or head over to their website and click ‘Join Now’.
Create your personal account by entering your email address and a password.
Once you have done this, fill in your first and last name (don’t worry, your personal details won’t be shown on your company page).
You’ll then be asked for some information about your location and to confirm your email address with a verification code.
From this point, you can skip any questions regarding your personal account, such as people to follow and profile pictures. These can be completed later if you wish to use your personal account.
Once your personal profile has been created, click the grid-like icon on the right hand side of the navigation bar.
At the bottom of the menu should be a button labelled ‘Create a Company Page +’
After clicking this, you can choose whether to have a Company, Showcase or Educational Institution page.
When you have chosen a page type, you will need to fill in the form asking for details such as your business’ name, website address, industry, size and type of business.
You can also add your company’s logo here too and a short tagline about what your business does.
Although social media can seem daunting for those with little experience with it, once you’re on there it’s easy to learn the ropes relatively quickly, especially if you take time to research your competitors and what they’re doing online.
Here are some of the key takeaways from above:
- Go where your audience is. You know your target market better than anyone, so think about which platform they are most likely to be spending their time on.
- Only choose two or three social media platforms and focus on doing them really well. There’s no point in spreading your time and resources thin across multiple platforms and achieving minimal results.
- Take a look at the platforms your competitors are using and the type of content they’re putting out on each platform to give you a better idea of what works well and what doesn’t.
For many businesses, managing social media accounts and keeping up with the latest trends can be tricky and time consuming.
That’s why at Statuo we can help you to get social, producing an effective social media strategy, creating on-brand content and scheduling it in to be posted at the right times, so all you have to do is focus on running all other aspects of your business.
For more information on our services, please don’t hesitate to get in touch with our team today!
